I have to say that I'm really really proud of my granny square blanket. It is my biggest crochet project, and took me most of March and April to make it-- sometimes I'm still awestruck that I finished it!
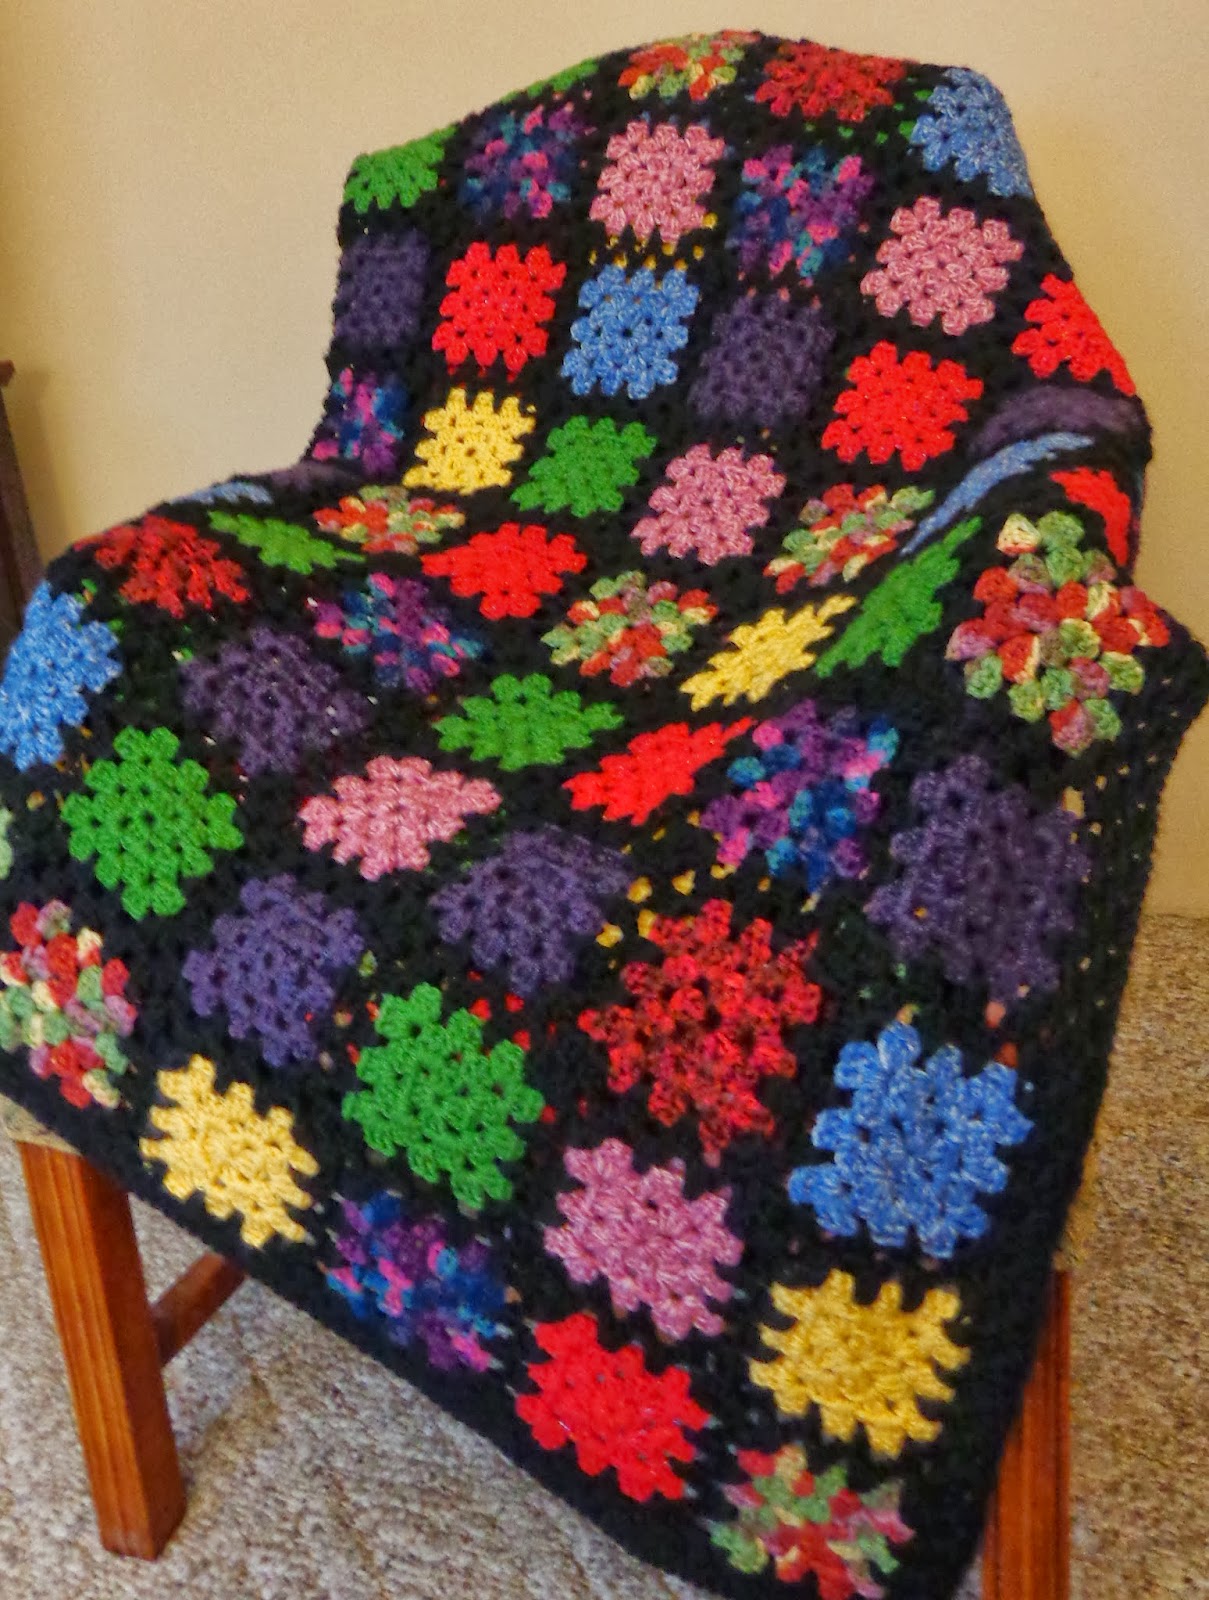
My inspiration to create multi-colored squares framed in black came from this image-- the black outline really makes the colors pop! From there, I learned how to create granny squares using instructions from Lisa's Granny Square Afghan Pattern.

I used about 10 different yarns for the granny squares. I started with scraps from previous projects and then purchased a few new skeins as my vision for the project grew. A few of my yarns were a little thinner than the others, and I ended up stitching a single crochet stitch border around those squares in order to make them the same size as the others. This approach worked just fine, and it's not noticeable at all. For the black border, and I used about 2 skeins of Caron Simply Soft.

I ended up making 140+ squares. Before I started connecting squares, I laid out all of them on my kitchen table and played around with the color placement and measurements until I really liked it. The final product was 10 squares by 14 squares.

I spent a lot of time researching and deciding how to connect all of my squares. Knot Your Nana's Crochet gave me a lot of ideas. Eventually I chose the Granny Join Stitch, because it looked very similar to the granny squares and I thought the blanket was busy enough with so many colors. For the Granny Join Stitch, I followed the tutorial on Carina's Craftblog, and I'm really happy with the outcome.

Connecting the squares is a loooong process and staying organized was important so I didn't mess up the color pattern I planned out. Basically, I started on the far right row and connected all of the squares into a long strip of 14 squares (using the Granny Join Stitch). Then, I repeated this process for the second row. Then I used the same Granny Join Stitch to connect these two long strips. Each time I completed another strip/row, I connected it to the other completed rows.

Connecting the squares is a loooong process and staying organized was important so I didn't mess up the color pattern I planned out. Basically, I started on the far right row and connected all of the squares into a long strip of 14 squares (using the Granny Join Stitch). Then, I repeated this process for the second row. Then I used the same Granny Join Stitch to connect these two long strips. Each time I completed another strip/row, I connected it to the other completed rows.


Once all of the strips were connected, I crocheted a border using the Granny Square Stitch I mentioned previously (Lisa's Granny Square Afghan pattern). I used the instructions for creating additional rows, and my border is 3 rows of this stitch.

I hope this gives you some inspiration... Happy stitching!
Jilliane
Are you on Pinterest? Follow my latest handiwork or crochet inspiration board!
Jilliane
Are you on Pinterest? Follow my latest handiwork or crochet inspiration board!
No comments:
Post a Comment